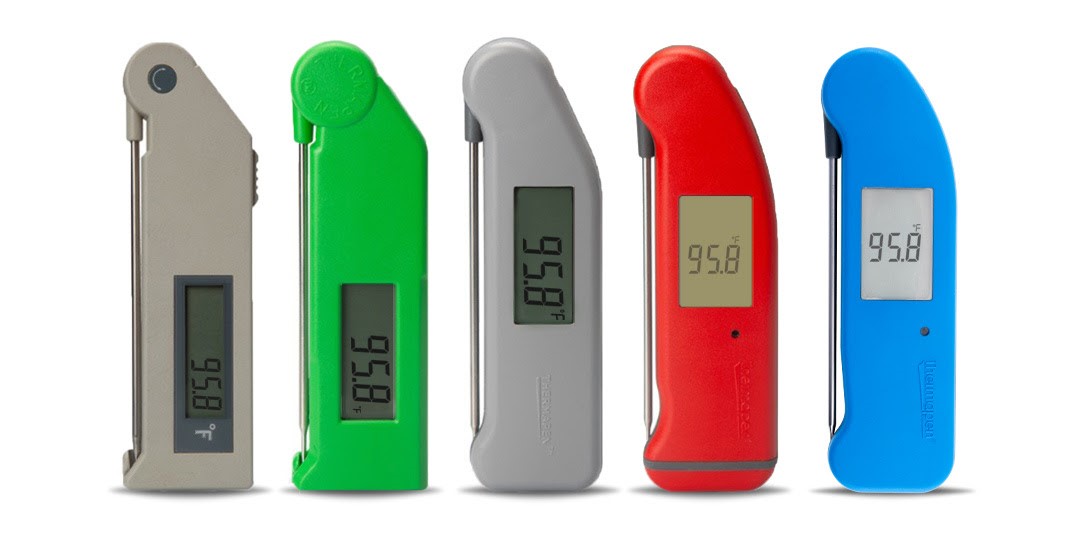
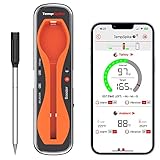
The ThermoPro TempSpike is a completely wireless thermometer… no wires! That allows you to wirelessly monitor your cook with compatible smart phone apps. It’s a available in a single probe version and and a dual probe version.
- ThermoPro TempSpike Premium Truly Wireless Meat Thermometer with 500-Ft Remote Range, Bluetooth Meat Thermometer with Wire-Free Probe, Meat Thermometer Wireless for Sous Vide Smoker Rotisserie
- ThermoPro Twin TempSpike 500FT Truly Wireless Meat Thermometer with 2 Meat Probes, Bluetooth Meat Thermometer with LCD-Enhanced Booster, Meat Thermometer Wireless for Rotisserie BBQ Grill Oven Smoker
This is a look at the single probe TempSpike. Stay tuned to this post which will turn into a comprehensive hands on review as I become more experienced with this wireless thermometer.
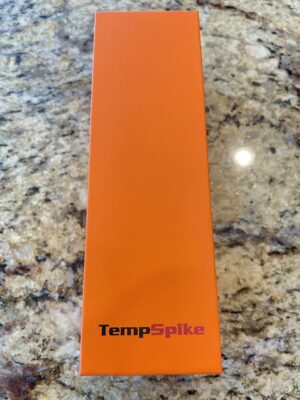
Front of the box
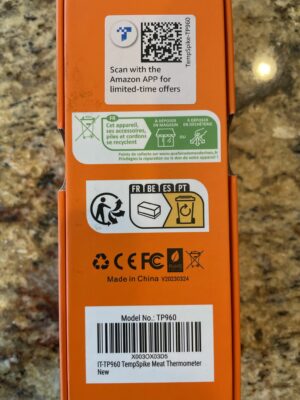
Back of the box
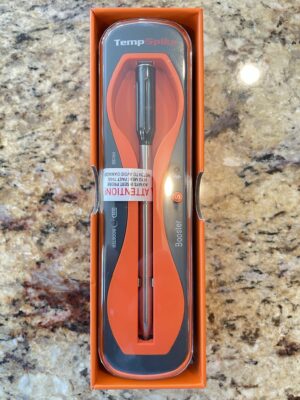
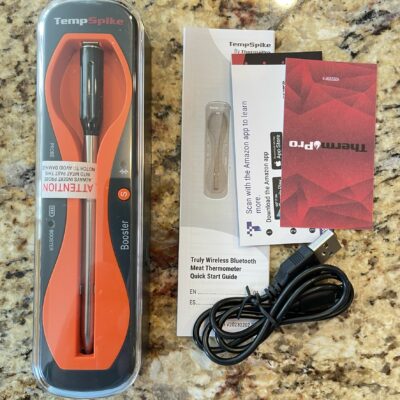
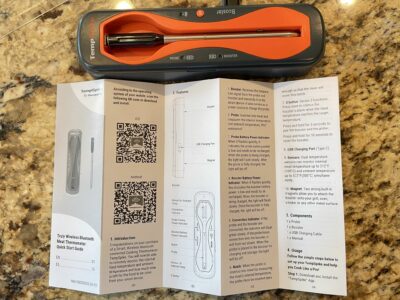
The case and probe in the box
What came with my TempSpike – The probe, case, manual, charging cord and a couple additional pamphlets. Note that a USB charging block is not included, but it will work with any standard USB charger.
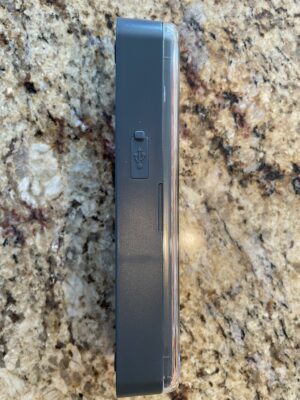
Side of the case. The storage case serves multiple purposes – storing the probe, charging the probe and it operates as a signal booster. This is a picture of the side of the case that shows you the USB charging port.
A closeup of the case
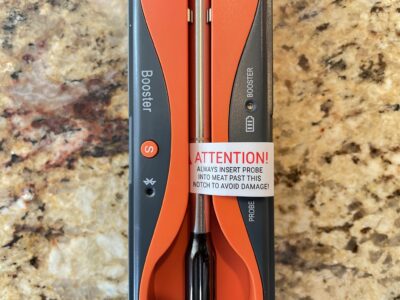
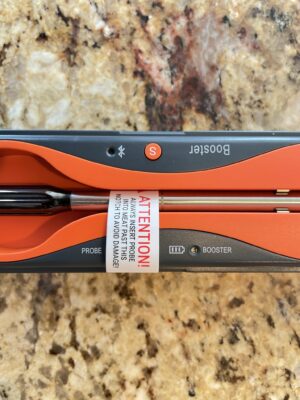
The probe comes with this sticker reminding you to always insert the probe past the marked notch to avoid damage.
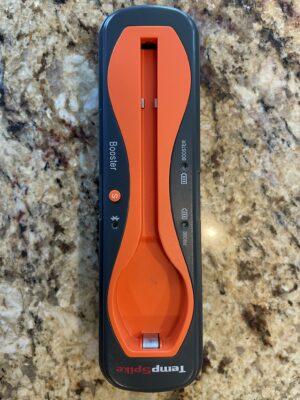
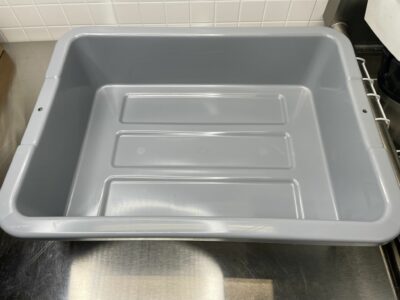
A look at just the case
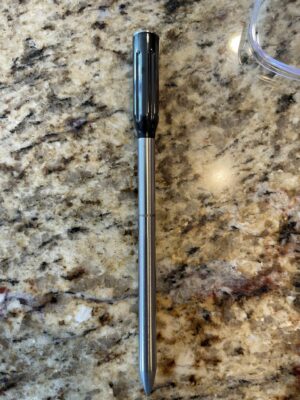
The TempSpike probe
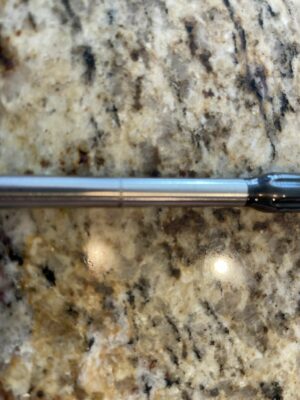
Notch indicating minimum insertion to avoid probe damage
The case along with a section of the manual that describes each component
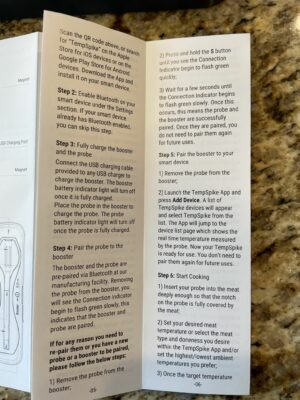
The section of the manual that walks you through getting started with the TempSpike
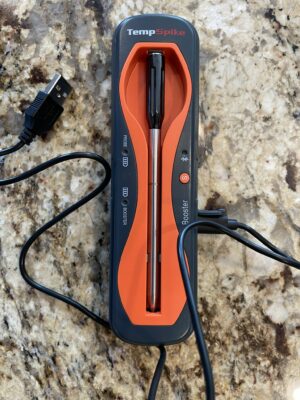
Case with included charging cable plugged in
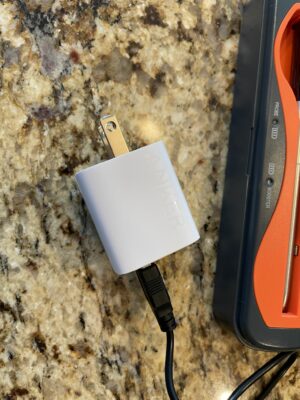
Charging cable plugged in to this USB charging box from Anker. Note that a USB charging block is not included, but it will work with any standard USB charger.
Stay tuned for more on the TempSpike. I’m planning to use it on my next cook and will have more info then.
Check Current Price & Availability:
- ThermoPro TempSpike Premium Truly Wireless Meat Thermometer with 500-Ft Remote Range, Bluetooth Meat Thermometer with Wire-Free Probe, Meat Thermometer Wireless for Sous Vide Smoker Rotisserie
- ThermoPro Twin TempSpike 500FT Truly Wireless Meat Thermometer with 2 Meat Probes, Bluetooth Meat Thermometer with LCD-Enhanced Booster, Meat Thermometer Wireless for Rotisserie BBQ Grill Oven Smoker
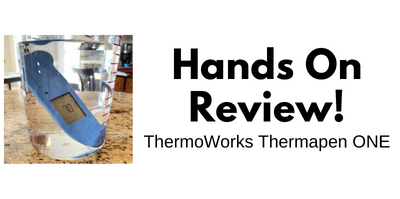
Thermapen ONE Review:
- 500-Ft Ultra-Long Range: Connected via the most advanced Bluetooth 5.2, this wireless thermometer for grilling can monitor your cooking from up to 500 feet away without obstacles, make it outstand from other smoker accessories
- 100% Wire-Free: Meat thermometer digital wireless removes all the tangled wires, makes it a versatile tool for electric rotisserie, smoker, oven, grill, pan-fry or sous vide; Enjoy 100% wire-free cooking and the convenience of no-hassle setup and cleanup with this turkey thermometer
- 1 Probe, 2 Sensors: Bluetooth thermometer for smoker features a meat temperature probe to eliminate the hovering up hassles by giving you consistent internal temp readings even when you're not right next to the meat, along with the ambient pit temperature
- Easy-to-Use, Multifunctional App: The bluetooth thermometer for grilling app equipped with customizable, temperature-triggered alerts and guidelines on USDA-recommended temperatures, helps you nail your cooks in the short term and master your grilling techniques in the long run
- Smart Alarm Effectively Manage Your Time: Wireless grill thermometer App will estimate the cooking time needed; receive audible/vibration alerts and notifications directly to your phone, no need to maintain a watchful eye anymore on whatever you’re whipping up


- Industry-Leading Bluetooth 500FT Range: Using the most advanced 5.2 Bluetooth technology, the TempSpike line offers the only wireless thermometers on the market that can monitor food temperatures up to 500 feet away(unobstructed)for a dynamic cooking environment
- Booster with Standalone Display: Check the ambient and meat temperatures on the Booster display without the Smart App; Backlight LCD allows you to cook in dim-light condition, making checking your food easier than ever
- Twin Probes, Dual Sensors: This Bluetooth thermometer for cooking features two wireless meat probes, each equipped with separate sensors, which help you get a comprehensive idea of your eats’ internal/ambient temperatures
- 100% Wire-Free: Unlike other food thermometers and their fussy wires, this wireless cooking thermometer features a fully wire-free design without tangles or stretching cords, making it more versatile and easier to use, perfect for rotisserie, oven, grill, smoker, and more
- Smart App Control: With the TempSpike App, you can monitor the estimated cooking time, preset desired temperatures, and receive alerts from your phone, get access to all the cooking stats you could possibly need as the Twin TempSpike sits adhered to your steak inside the oven

- 500-Ft Ultra-Long Range: Connected via the most advanced Bluetooth 5.2, this wireless thermometer for grilling can monitor your cooking from up to 500 feet away, truly wirelessly tracking your meal from anywhere!
- 100% Wire-Free: Meat thermometer digital wireless removes all the tanged wires, makes it a versatile tool for electric rotisserie, smoker, oven, grill, pan-fry or sous vide; Enjoy 100% wire-free cooking and the convenience of no-hassle setup and cleanup
- 1 Probe, 2 Sensors: Bluetooth thermometer for smoker features a meat temperature probe that can simultaneously measure internal meat temperature and ambient pit temperatures, while still reading highly accurately in just 3 seconds, so you’ll never overcook or undercook again!
- Easy-to-Use, Multifunctional App: Get real-time alerts on the go with the smart meat thermometer App; Supports custom timer and temperature graphs; USDA-recommended preset temperatures elevate your cooking like a pro every time you fire up your grill with our bluetooth thermometer for grilling
- Smart Alarm Effectively Manage Your Time: Wireless grill thermometer App takes the guesswork out by estimating how long to cook; Set up ambient pit temperature alarms and cooking pre-alarms that trigger within 5°F/10°F/15°F of the target temperature, and both your smartphone and the booster will beep to remind you, never overcook!

- UP TO 500 FT RANGE: The remote meat thermometer wireless built-in Advanced 5.2 Bluetooth Technology lets you receive signals from up to 500 ft away! No additional setup or pairing needed.
- NO WIRES, NO MESS: After just a quick insertion, this bluetooth thermometer for smoker and cooking operates independently free of cables to provide you with a hassle-free culinary experience. Without cords to get tangled, this digital meat thermometer bluetooth is perfect for oven, grill, smoker, bbq, electric rotisserie turkey, Air Fryer
- 1 PROBE, 2 SENSORS:The wireless meat probe thermometer with dual temperature sensors can simultaneously monitor internal meat temperatures up to 212°F and ambient temperatures up to 572°F with an accuracy of ±1.8°F; Dishwasher-safe, deep-fryer proof, and 36-hrs+ battery life is ideal for sous-vide, low and slow cooking.
- APP REMOTE CONTROL: The wireless thermometer for grilling and smoking with app serves as your personal sous-chef! Monitor real-time temperatures, customize cook alerts, and receive notifications when your meat is ready. Easily cook anything you want and get great results. Never overcook your meat again!
- INTELLIGENT COOKING SYSTEM: Make quick adjustments heat using the in real-time temperature chart. Manage your time efficiently using the built-in time estimate algorithm. Create delicious, restaurant-style food easily! This smart meat thermometer digital is the best assistant for your cooking

- The ideal choice for indoor and outdoor cooking enthusiasts. MEATER Plus is 100% wire-free, allowing you to cook with complete freedom and flexibility. This Long Range Model features Bluetooth 5 with a range over 1000ft. (330m) open air, direct-line-of-sight. With walls and obstacles like a typical home, the average range is 165ft. (50m). You can easily monitor your cooking progress using the free app, which is available for both iOS (version 12.2.0 and later) and Android (version 8.0 and later) smartphones and tablets. Please note that the smart phone is not included in the package.
- The perfect gift for the chef in your life. Whether it's for your husband, dad, brother, wife, mother, sister, or a food-loving friend, this versatile kitchen gadget is a must-have for anyone who likes to BBQ or is a home chef in the kitchen. Achieve perfect results every time with this high-precision thermometer that takes the guesswork out of cooking.
- 2 Sensors, 1 Probe. The dual temperature sensors on this meat thermometer enable you to monitor both the internal meat temperature (up to 212°F) and the ambient/external temperature (up to 527°F) at the same time. This means you can achieve the perfect level of doneness for your meat, while also ensuring that your grill or oven is operating at the right temperature. And when it comes to cleaning up, you'll appreciate the fact that this thermometer is dishwasher safe.
- Say goodbye to guesswork with our Guided Cook System. This innovative feature in the app walks you through each stage of the cooking process, ensuring perfect and consistent results every time. You can even set up custom alerts and notifications based on temperature and/or time to keep you on track. The algorithm can estimate the ideal cooking and resting times for your food, taking the stress out of meal planning and allowing you to sit back and relax while your meal cooks to perfection.
- Extend your wireless range over WiFi with MEATER Link. All you need is a 2nd smart phone/tablet to bridge the connection to your home WiFi network.
- Stainless steel, water resistant, and easy to clean. Bluetooth 4.0 wireless connection. Max internal temp: 212°F. Max ambient temp: 527°F.
- Bamboo Block Charger: The stylish bamboo block not only holds your MEATER probe but also serves as the charger, ensuring your wireless meat thermometer is always ready for use.
Connect with BBQ Finds to Stay In the Loop!
- Subscribe by Email
- Connect in Instagram
- Connect on Twitter
- Connect on Facebook
- Connect on Pinterest
- RSS Feed
- Email Us
- Submit a Tip!
Also: Our Fuel Deals Roundup!

Price, promotions and availability can change quickly. Check the product page for current price, description and availability. top:tempspike tag:tpr


 Pictured:

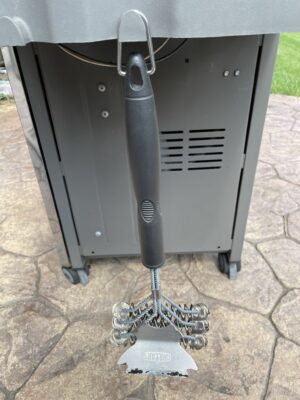
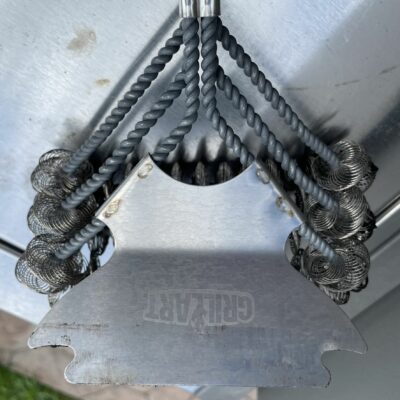 A look at the stainless steel scraper blade. It features notches on each side to clean individual grate wires.


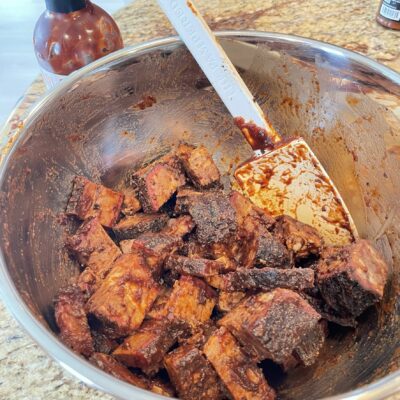
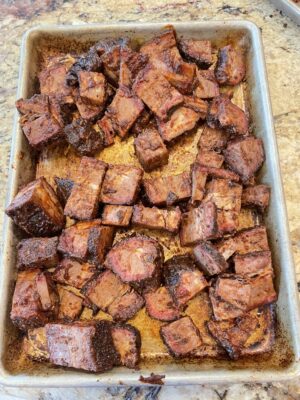
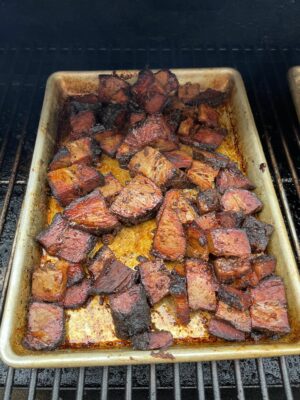
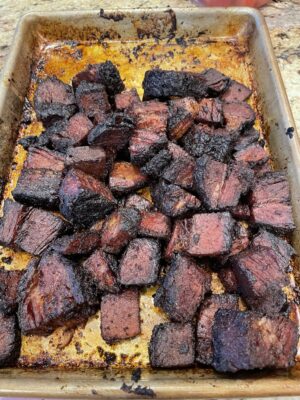
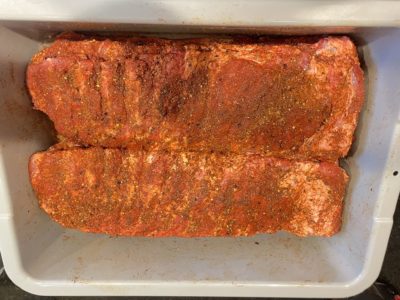
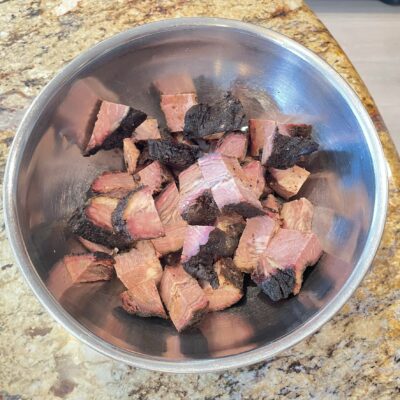 Cubed thicker/fattier portion of the brisket. These were cut after resting in the refrigerator overnight. That makes them very easy to cut and they stay together well.
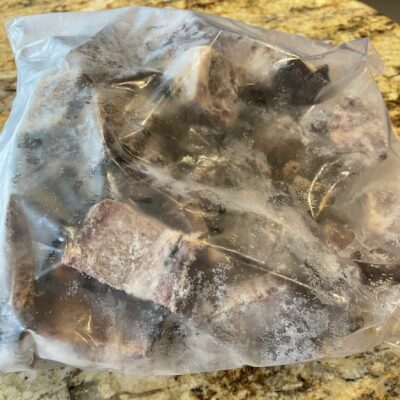


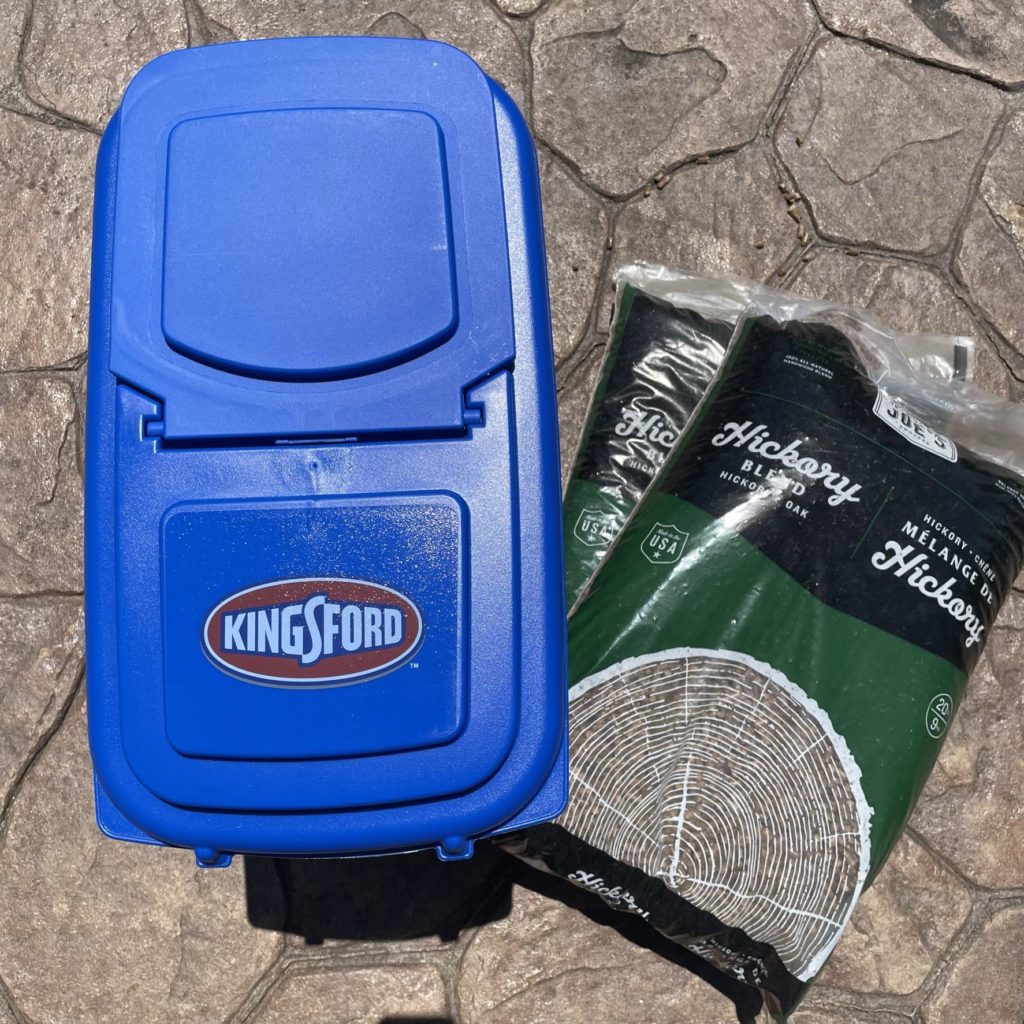
 Thank you to BBQ Finds Reader Jeff for this photo! –


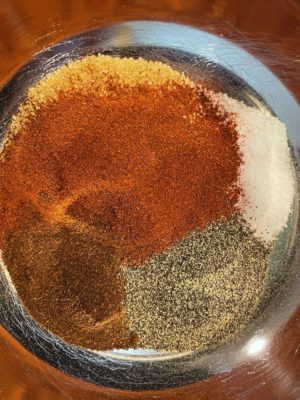 After adding most of the 1 and 2 tablespoon additions
 After adding most of the spices
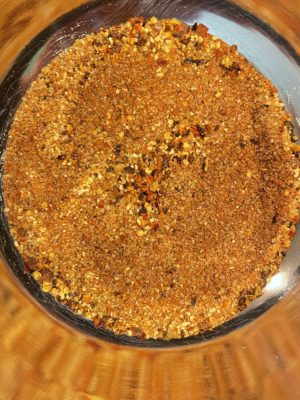 Everything combined
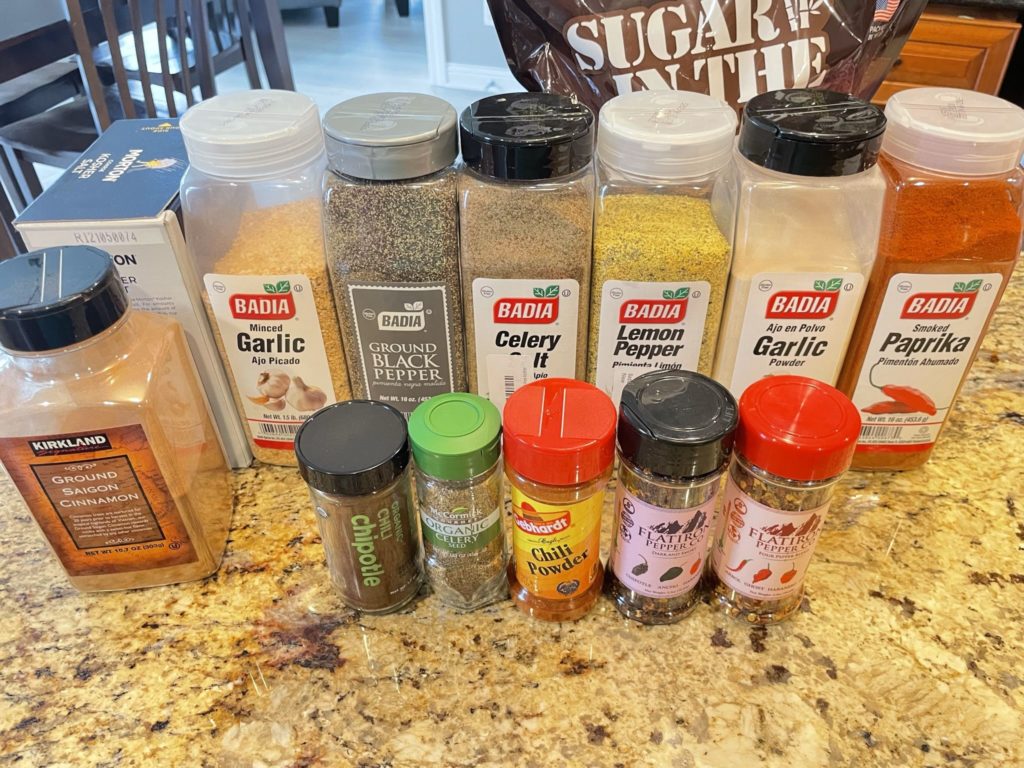
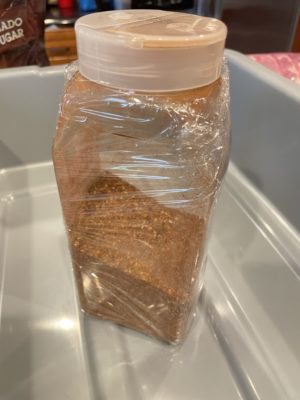
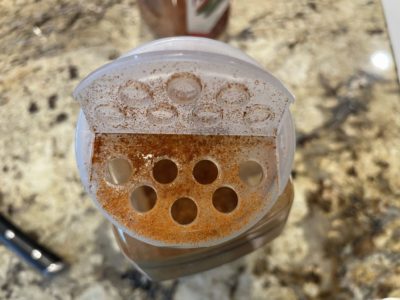 Like a lot of people I like to re-use spice containers for storing and shaking my rub. I really like the larger
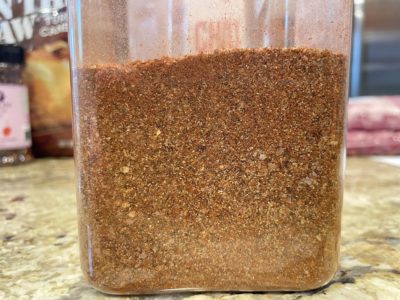


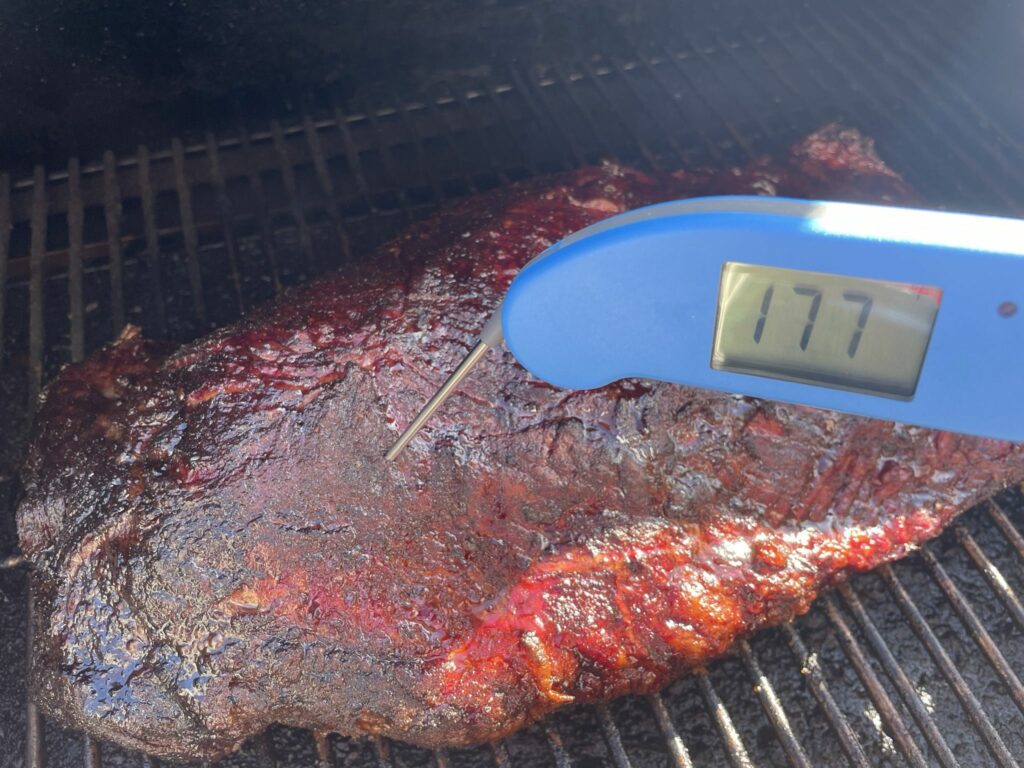
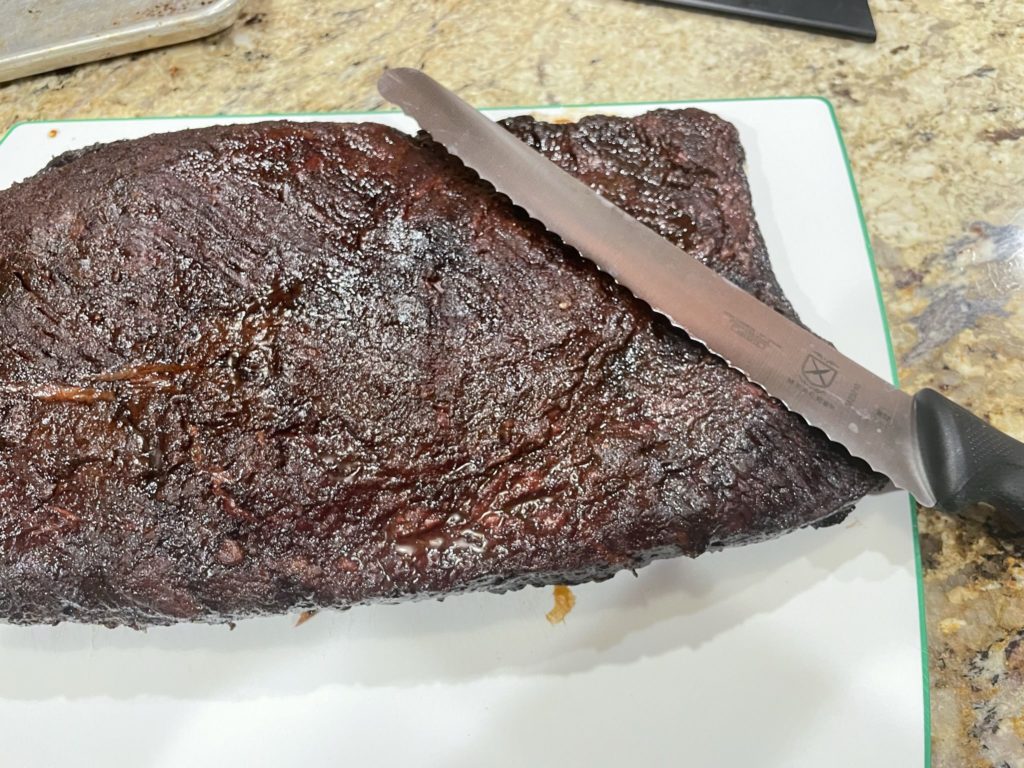
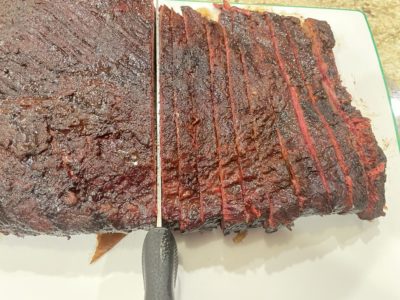
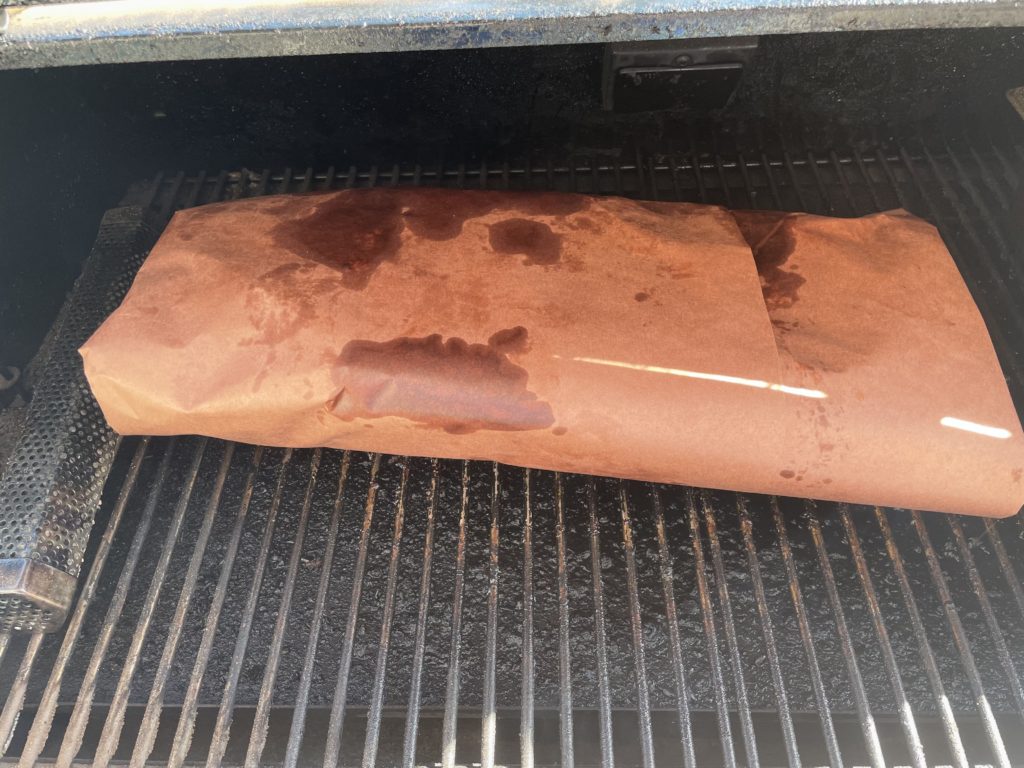
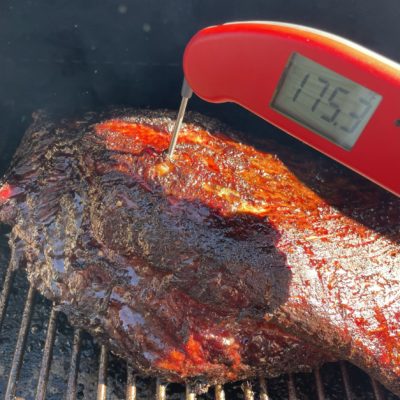
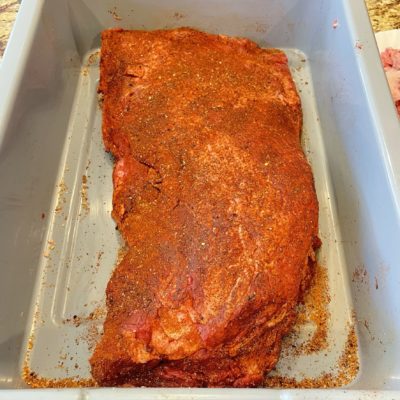
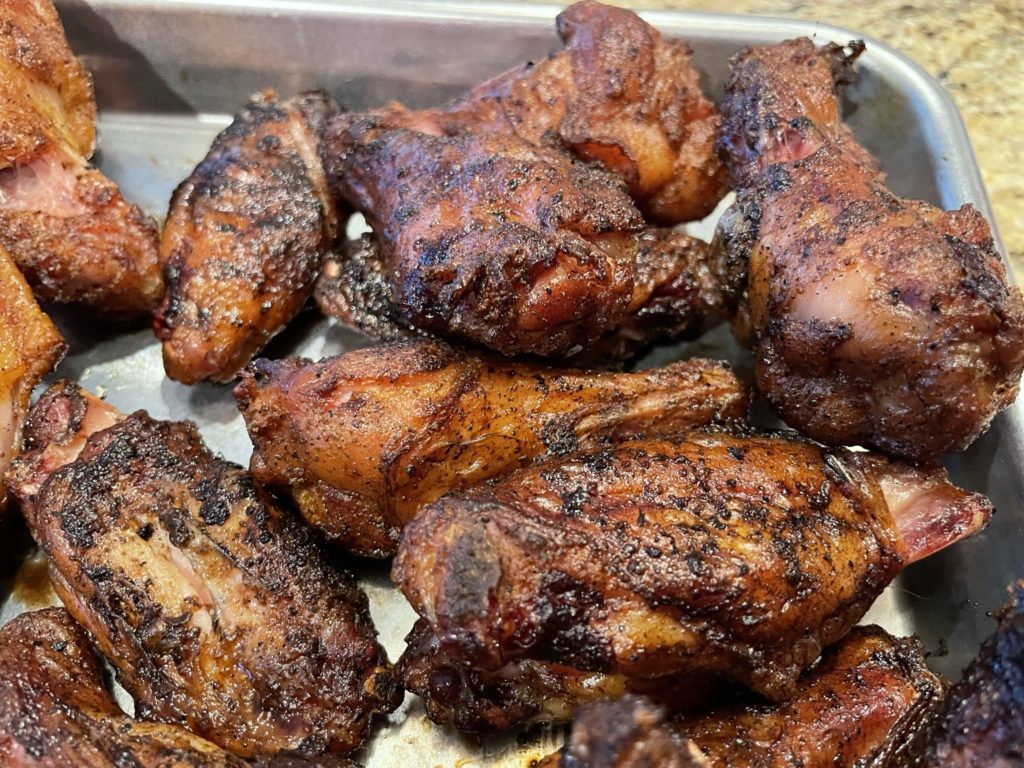
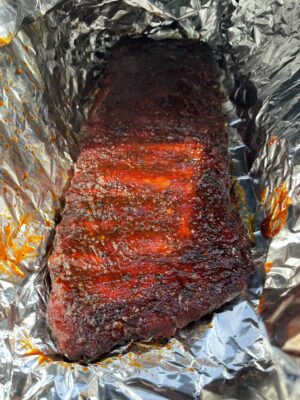
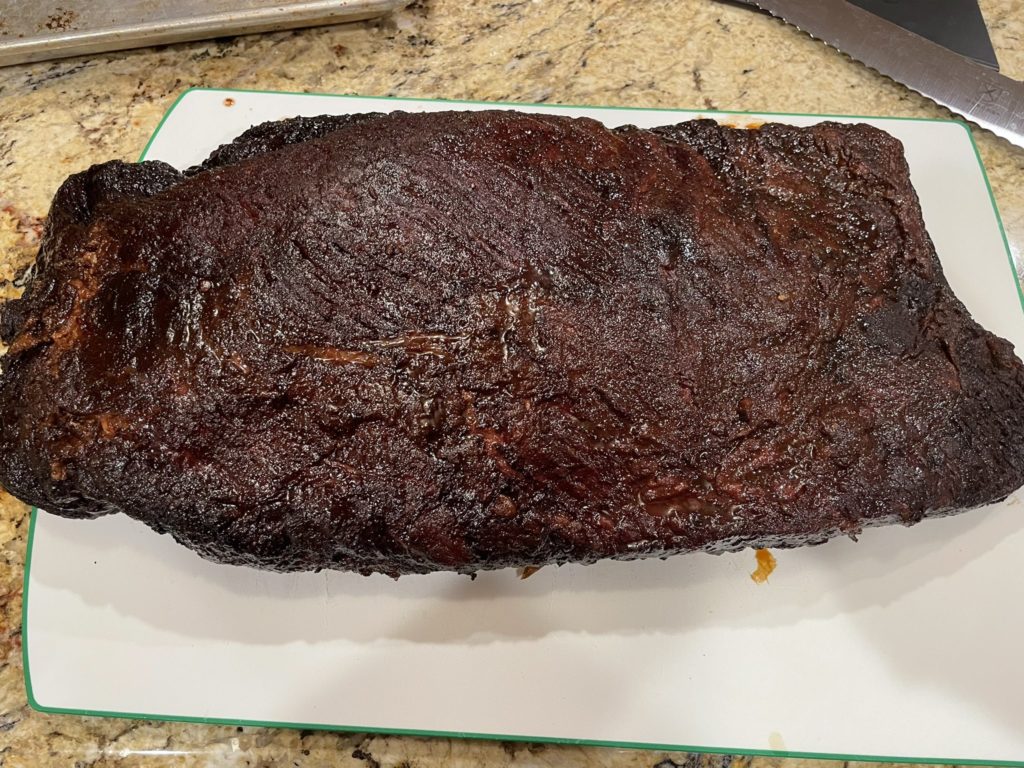 Brisket!