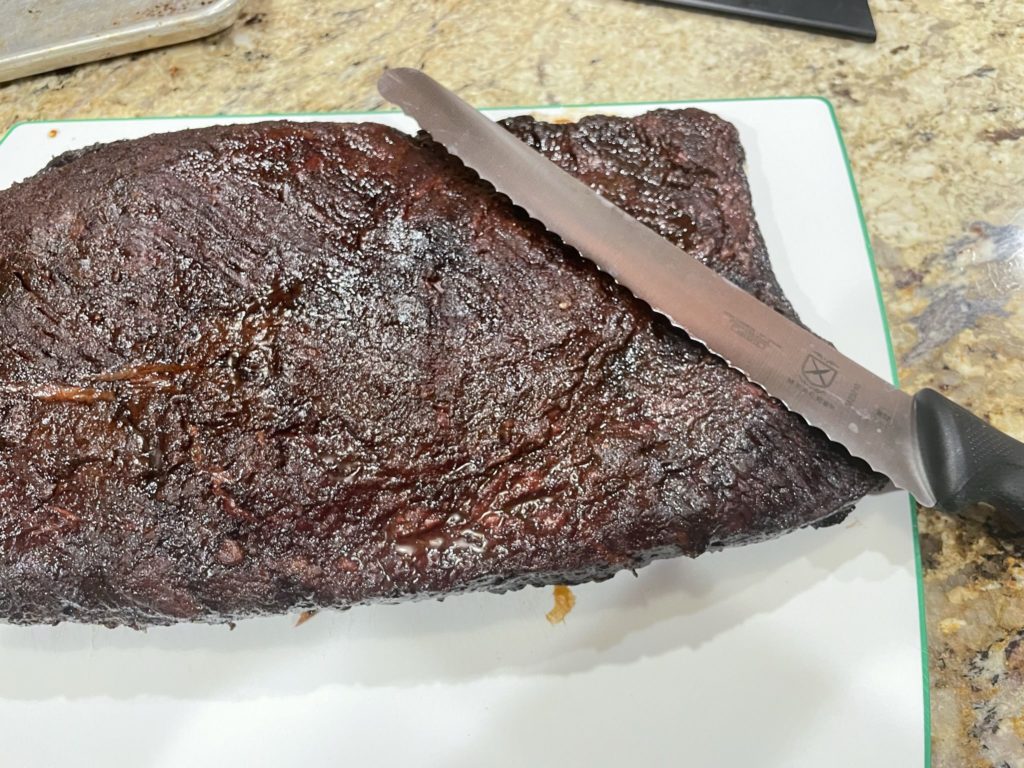
Previously I had used the “chef’s knife” from my kitchen knife set. That knife, at times, would cause brisket to shred instead of cutting a nice neat piece. The M23210 is super sharp and makes quick, neat work of cutting brisket.
For safety… I also picked up the 10″ x 2″ Mercer Knife Guard which fits the M23210 well.
Price, promotions and availability can change quickly. Check the product page for current price, description and availability tag:tpru tag:brisketknife
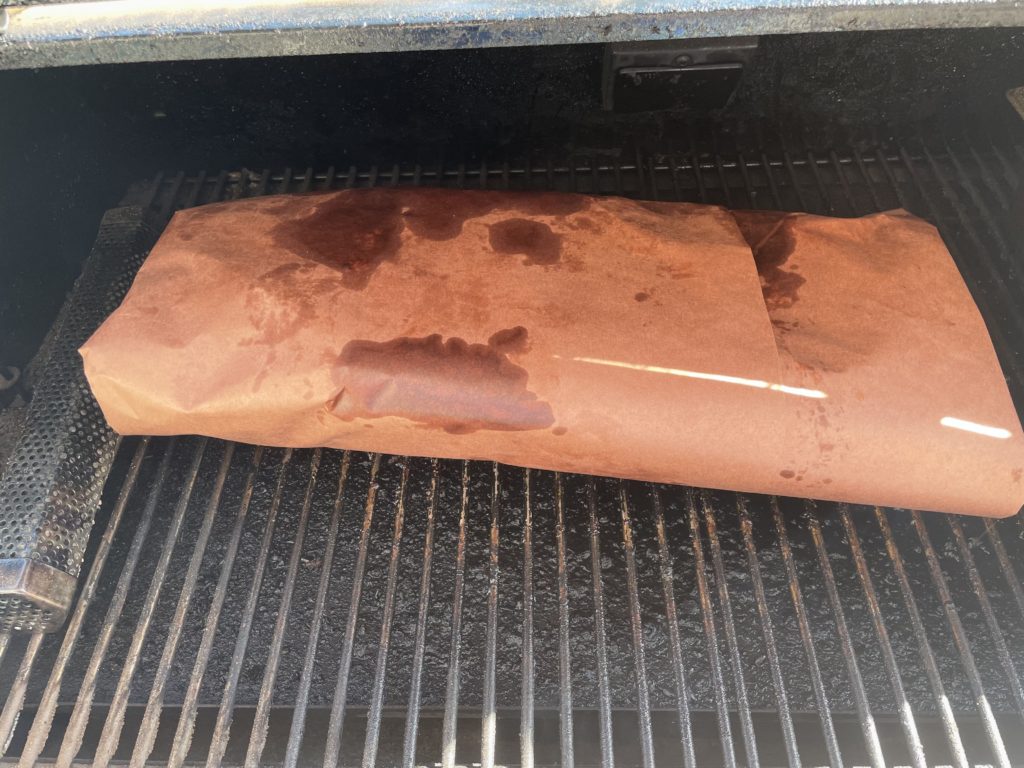
I find that spritzing during longer bbq cooks helps retain moisture and leads to a better end product. Depending on the mixture you’re using you could also gain some flavor and color.
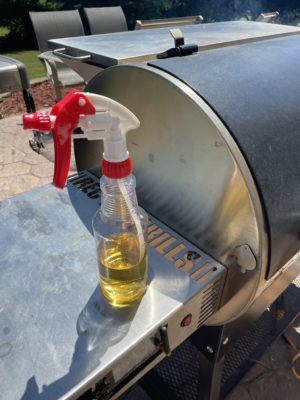
Prior to getting this bottle I had been using super cheap bottles acquired at a big box store. The price was right, but the quality was not. They lasted a couple cooks before the sprayer fell apart.
I went look for a higher quality food grade bottle and sprayer.
What is now my BBQ rub recipe started out as a recipe I picked up 15+ years ago. I’ve tried to find the source to quote it, but have been unable to figure it out. It’s changed markedly since then with a couple major changes and loads of tweaks over the years.
It’s not the only rubbed I use, but it’s what I use most often. I don’t think there’s one right rub, especially from person to person, but this one is tried and true. I’ve used it on everything from brisket to ribs to chicken and typically will add some to my pit beans.
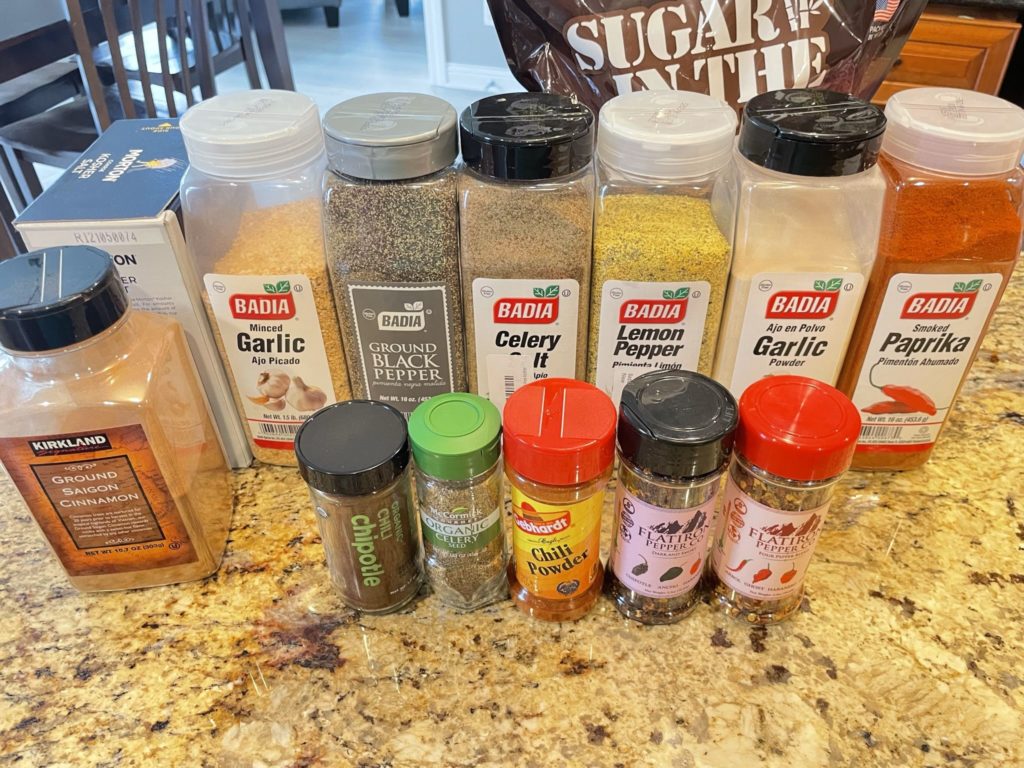
As you can see from the photo above, I’ve mostly settled on Badia brand spices. They’ve got a great selection, great quality and are, generally, a great value for the money.
Saving Money on Spices
My biggest tip on saving money buying spices is… buy in bulk. If you look at the per ounce cost between a small shaker and a big container, the difference can be drastic
Secret Spices…
Of course, none of the spices are really secret, because they’re pictured above but a couple that really stand out are…
Flatiron Peppers – I first became aware of these year’s ago when on vacation in Estes Park, Colorado. I’ll get super specific and say that I was at the Country Market of Estes Park. A small grocery store, deli and gas station. One of the owners was giving away samples. We chatted and tried their peppers and have been hooked ever since. Regular red pepper flakes just don’t do it any more. We have and use all their varieties but for my rub I use two Four Pepper Blend and Dark and Smoky. Tip: as each of these shakers gets more and more empty the small powdered peppers at the bottom are much hotter. For the rub, I’m looking for the large chunkier pepper flakes as I don’t want to blow anyone away with heat.
Gebhart’s Chili Powder – I’ve tried a bunch of chili powder for different things and Gebhart’s is just my favorite.
On to the recipe, when I have a link to a specific spice, I’ll include it…
Savory Option: There isn’t a whole lot of sugar in this rub, but there is a little. If you’re looking for a completely savory option, leave out the sugar and the cinnamon. The cinnamon isn’t sweet, but I think it gives a slight impression of sweetness.
After adding most of the 1 and 2 tablespoon additionsAfter adding most of the spicesEverything combinedLike a lot of people I like to re-use spice containers for storing and shaking my rub. I really like the larger Badia containers for doing these as they have much larger holes compared to a lot of the brands. Lids for McCormick and such generally have small holes that are unusable for rub. As you can see Badia’s are nice and large.
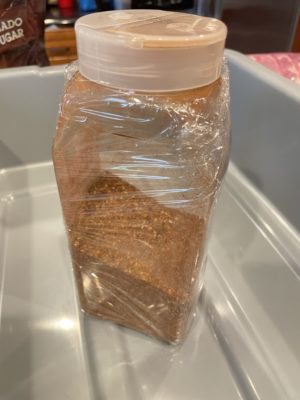
In the shaker! Tip: My rub (and probably a lot of rubs) have spices of different sizes. The heavier spices are going to tend to sink to the bottom. Shake the container thoroughly before applying and periodically as you work your way around. Tip: wrap your rub shaker in food wrap when it comes to applying. This allows you to grab it with meaty/contaminated hands. When prep is done, discard the food wrap and whammo!
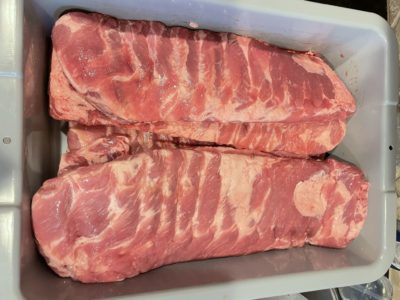
Some St Louis cut ribs trimmed, membrane removed and ready for rub application. I use a Rubbermaid Commercial Products FG334900GRAY Standard Bus/Utility Box – Hands on Review – for this. It’s food grade, large enough to hold a lot of meat. Applying rub in this, saves rub and saves cleanup time and hassle.
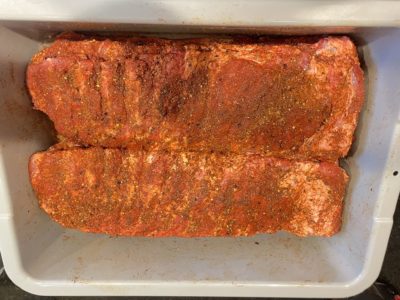
Rub applied. Tip: I use NItrile gloves when applying rub. Not only can I discard those when done to help prevent cross contamination, they protect my hands from spices. I love delicious smelling hands and all, but that can get to be a bit much. Also, I wear contacts. Even after multiple hand washings I would be able to tell you that this rub has a little bit of spice in it… when it comes time to take contacts out
.
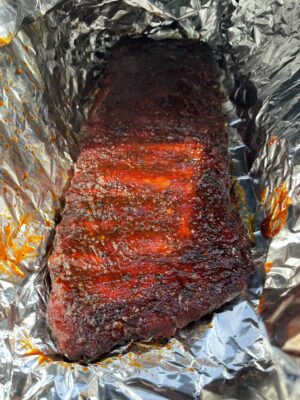
End result, look at that beautiful mahogany color
Longer term storage of rubs and spices
I’ve found that spices store pretty well in the containers that they come in. But, if you’re making larger batches of rub or storing for longer periods of time, you may want to add some extra freshness protection.
Putting food wrap directly on the bottle and then replacing the cap gives a better, more oxygen resistant seal.
Vacuum sealing + storing in the freezer is probably the best way to store larger amounts of spices for a longer time.
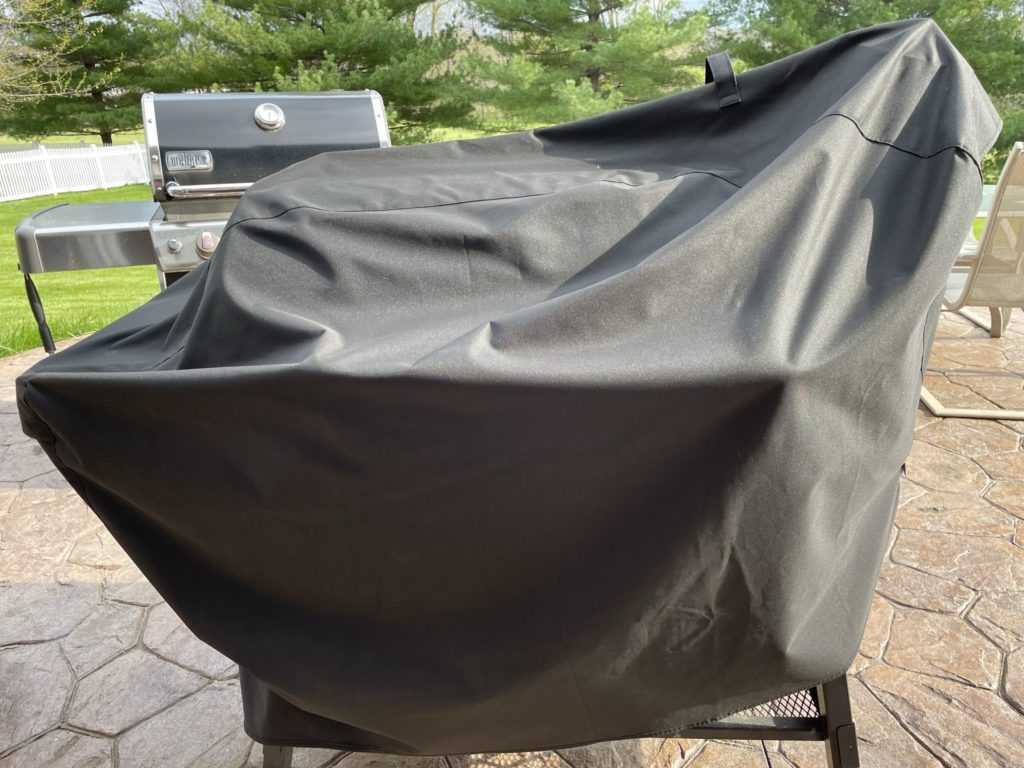
When I bought my Recteq RT-700 “The Bull” the OEM cover was backordered. I did order it, but it took quite a while to arrive.
Since I keep the RT-700 outside I wanted to have something to protect it so I looked for a compatible non-OEM option. Doing some digging, I stumbled on Unicook’s Heavy Duty 55″ Cover.
See picture above for this cover on my RT-700
It works great. Of course it doesn’t have a tailored section for the vent, but there’s enough room in the cover to make up for that. I’ve found that it’s high quality and easy to put on.
The Unicook ripped after months of good use. So I pulled out the Recteq OEM cover that I originally ordered with the grill. Although this is new, you can see it’s… old because of the Rec Tec spelling.
I’ve been really happy with my Recteq brand cover for my smaller RT-B380. It’s made of high quality material and is super easy. It flops on and flops off. Literally the easiest grill cover I’ve had the pleasure of using. It’s like this cover wants to be on the grill. 🙂
I’m happy to say that the OEM RT-700 cover is made from the same or similar high quality material.
Unlike the Unicook, this is designed specifically for the RT-700
It fits like a glove.
But maybe… I little too much like a glove. So far I’ve found it a little cumbersome to get on. With all the cut outs and such, it takes more time to get on.
One of my first times putting it on, I almost poked a hole it in trying to get it installed correctly.
I’m sure it will get easier, but, my point is that although the Unicook isn’t specifically made for the RT-700, it’s actually easier to get on each time.
Quality-wise, I would give the edge to the OEM cover. Ease of use, I would currently give to the Unicook. Again, I think this will get easier over time.
Update…
Having now used both, I can tell you that I prefer the Unicook. The difficulty of putting the OEM cover on combined with comparative price makes this an easy decision in my book.
Ribs have been a go-to of mine since I started smoking. as far as cuts of meat, Ribs are by far the thing I’m most likely to smoke. Like a lot of backyard cooking enthusiasts I’ve tried many different methods with varying results.
3, 2, 1?
I would say the 3/2/1 method is one of the most used techniques out there. 3 hours unwrapped, 2 hours wrapped, 1 hour unwrapped. I know this produces good results… for other people. I’ve done it dozens of times and personally struggle to make a consistently good rib, bouncing around between not tender enough and more often way too tender. With the latter, it’s common for me to have rendered most of the fat out of the ribs only to be left with fall apart meat that’s lost most of it’s flavor.
I think the two hours wrapped is generally too long, again for me… I have know it works for some and if it works for you that’s great!
3, 1, 1/2…
After a lot of playing around, I’ve finally settled on a 3, 1, 1/2 method. A lot of the credit for this goes to Aaron Franklin – Amazon author page. I have made some adjustments based on my equipment and tastes. Additional resources at the end of this write up.
The basics of this method are 3 hours unwrapped, 1 hour (or less) wrapped and 1/2 hour unwrapped. This is actually a hotter faster method compared to what I used to do.
There are a few good reasons I can think of to remove pellets from your pellet grill/smoker.
You want to switch to a different type of pellet for a particular cook.
You need to clear some sort of a jam or fix a problem.
You’re storing your pellet smoker and want to remove pellets to avoid potential problems.
Maybe some pellet grills have a way to easily remove pellets, but mine (Recteq RT-700)… does not.
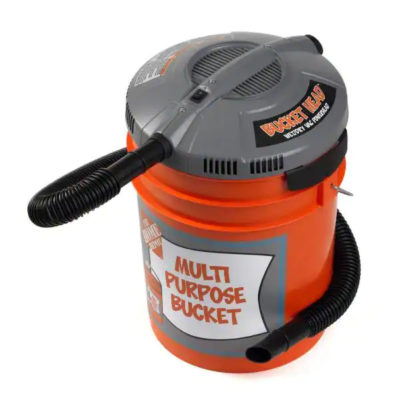
Looking for solutions I cam across the Bucket Head Shop Vac. The Bucket Head attaches to any standard 5 gallon bucket and… vacuums. When I need to remove pellets from my pellet smoker, I just vacuum them out. When I’m done I detach the Bucket Head from the bucket and put a regular lid on for storage. It works great!
I only use this for pellets so I don’t have to worry about cross contamination with dirt and such.
Make sure the components you use are compatible and rated for your intended application. Contact manufacturer with questions about suitability or a specific application. Always read and follow manufacturer directions.
Price, promotions and availability can change quickly. Check the product page for current price, description and availability. rp:hdbuckethead tag:tpru
For a short time, Thermoworks is discounting any one item by 25%. Discount is automatically applied to the highest price item in your cart at checkout.
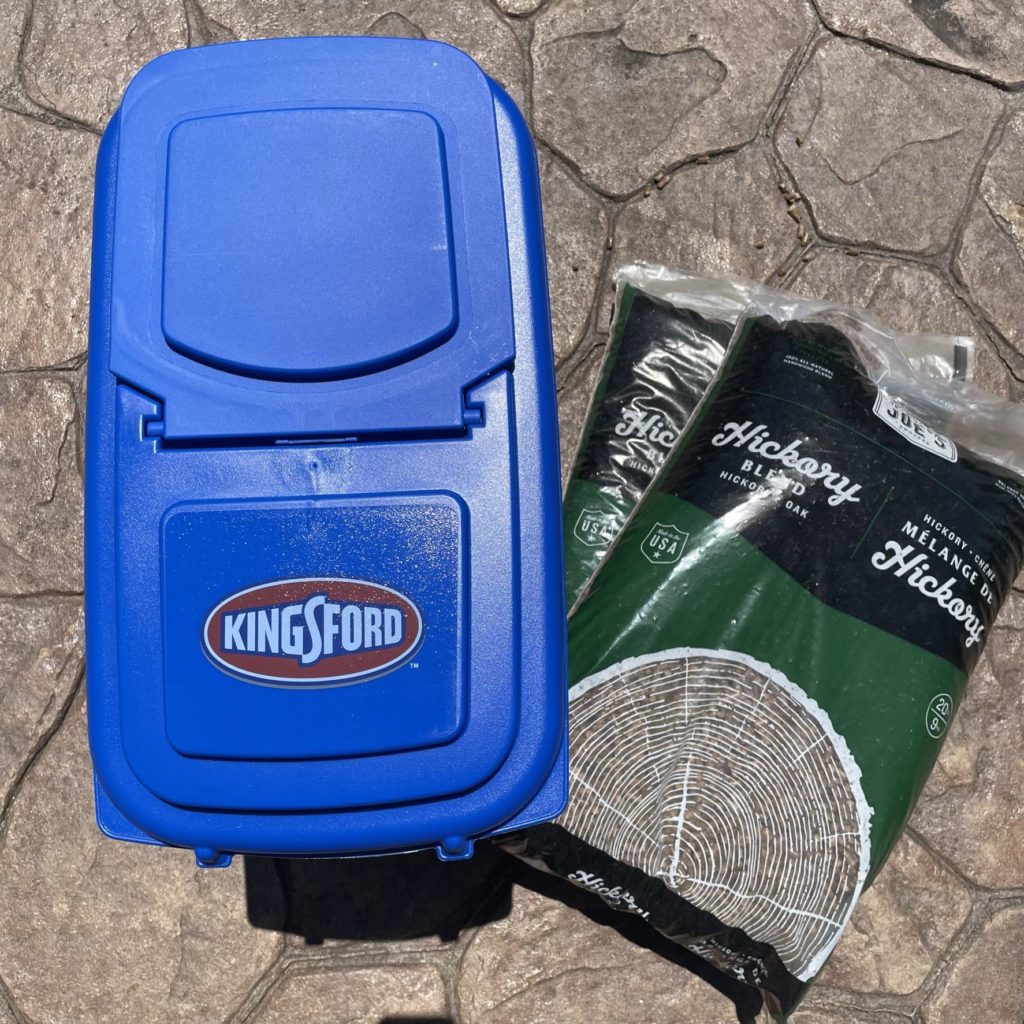
This is a hands on look at the 32 quart Kingsford branded charcoal kaddy. I picked this up for wood pellet storage.
Hands on Review Kingsford Charcoal Kaddy:
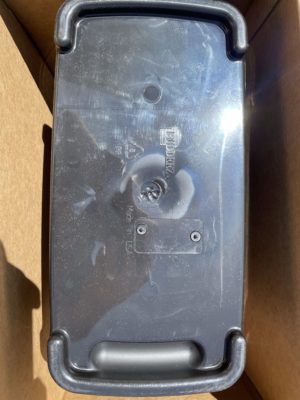
A look at the bottom. There is a lip on each end to raise the containers a bit, giving them some airflow. This reads Made in the USA and Buddeez. This is a Kingsford branded container that’s manufactured by Buddeez.
Check Current Price & Availability, Review Continues Below:
Kingsford 8 gal Charcoal Kaddy – affiliate link, note that multiple variations of this product may be available, as such a different version may appear at this link
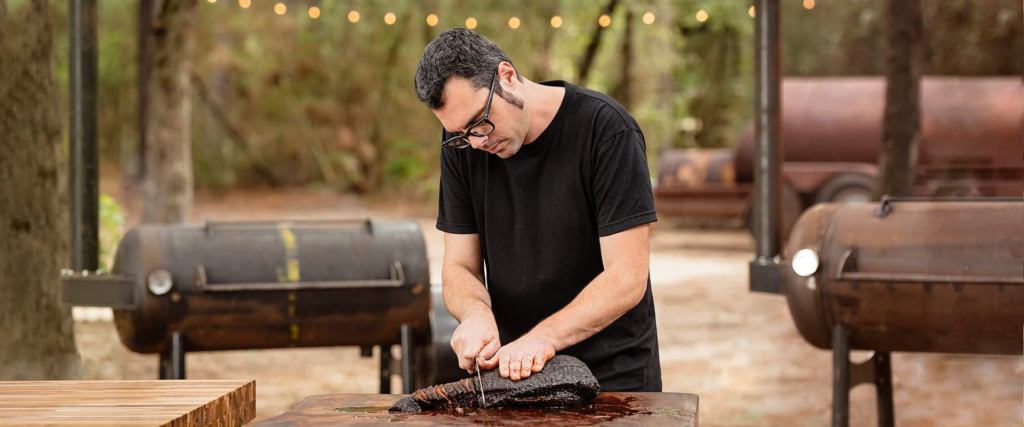
I’m very happy with my smoked briskets and ribs. I’ve done a lot of these meats. Through trial and error and learning from other, these generally turn out delicious.
Not that there’s one right way, but for these, there are some pretty clear guidelines out there that can get you close in short order. For ribs, there’s the classic 3-2-1 method, for brisket Aaron Franklin’s Method provides a methodical approach that makes for outstanding brisket.
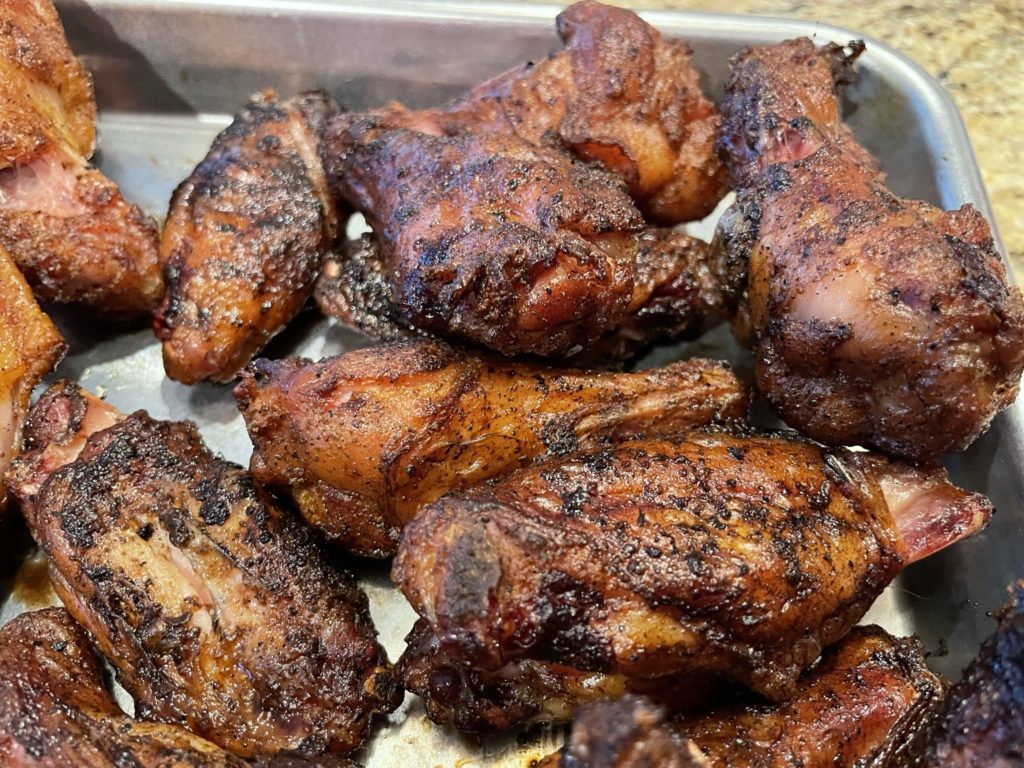
For chicken wings, the picture isn’t as clear. I posed the question on Twitter, and walked away with some great ideas. In fact… lots of ideas. The path to the perfect smoke wing, varies, just like a lot of smoked weeks, but I’ll say, I think there may be more and more varied paths on this meat as compared to some others.
This post is a chronicle of my journey to get a great wing off my smoker.
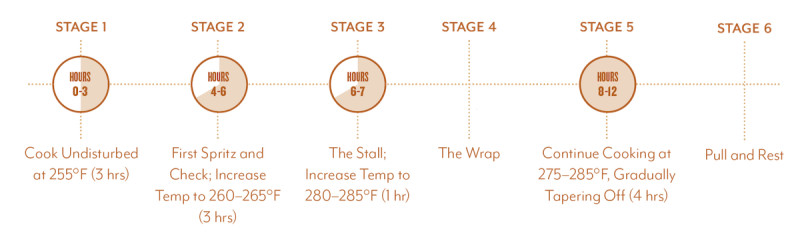
Let’s say you want brisket for dinner. With an 8 to 12 hour cook time followed by an hour or two rest period, you’re looking at a total of 9 to 14 hours total. Let’s just average that out and 11 hours. Add an hour prep time and let’s say, brisket takes… 12 hours.
This means if you want a 6 PM dinner, you need to be starting at 6 AM. I’d still say that’s a little risky because things could take longer but for this scenario, let’s say 12 hours/6 AM start.
This is okay, but, depending on if you’re a morning person, getting up at 6 AM on a weekend may not be the on your wish list. Translate that to a week day when you’re not at home and it becomes even more difficult because you can’t tend your pit.
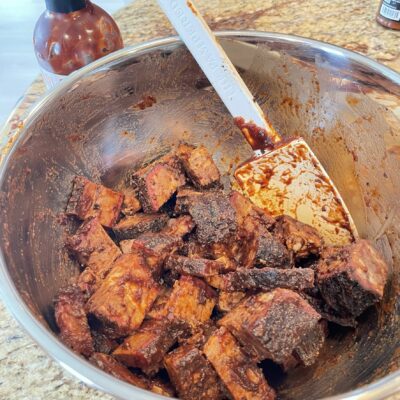
To resolve these issues, I present to you my two step burnt ends technique.
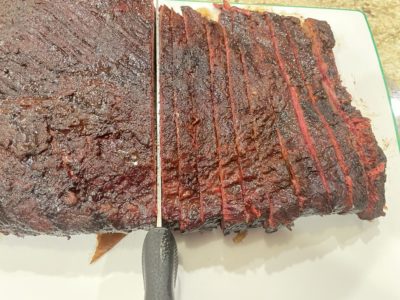
Step 1: Prepare and smoke a brisket. Here’s my complete brisket process. Slice the leaner part of the brisket and… eat it. Cube the thicker, fattier part and save for a later date.
Step 2: Prepare the “burnt” ends and smoke separately at a later time. Since this part of the process is 2 to 3 hours, it can easily be completed day of for a lunch or dinner.
Cubed thicker/fattier portion of the brisket. These were cut after resting in the refrigerator overnight. That makes them very easy to cut and they stay together well.
In a gallon bag frozen for later use. In this case, I knew I’d be back to them in a week to 10 days so I just used a gallon zip loc. For longer periods of time, vacuum sealing would be the way to go.
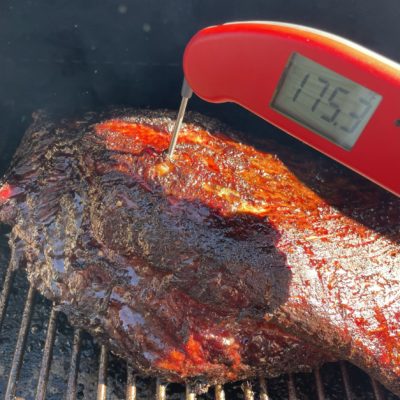
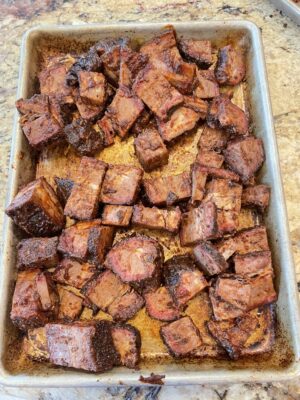
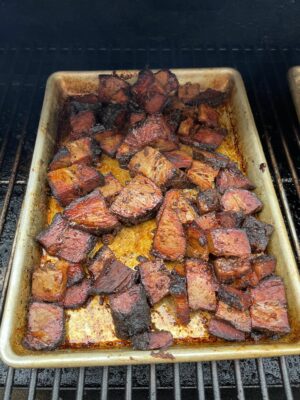
On the smoker. I usually do about 225 for 2 to 3 hours based on taste and feel.
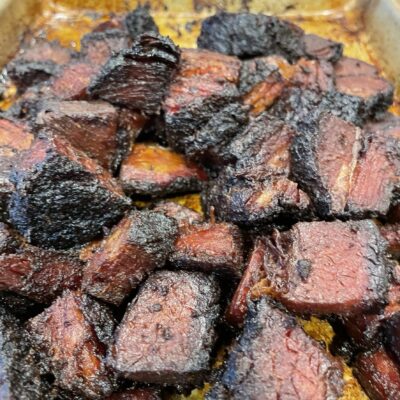
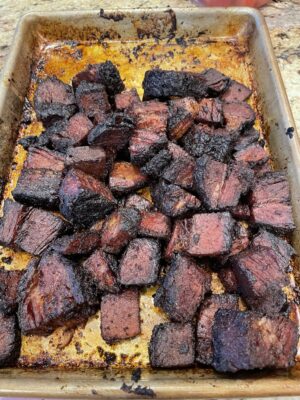
Burnt ends!
Conclusions
This gets you freshly smoked brisket in 2 to 3 hours and makes cook times more manageable. It’s also a great way to break up huge briskets into manageable portions. If you have a hard time getting through a brisket, this lets you prepare meal size portions with very manageable cook times.
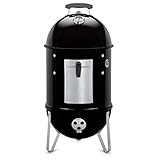
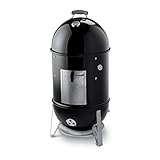
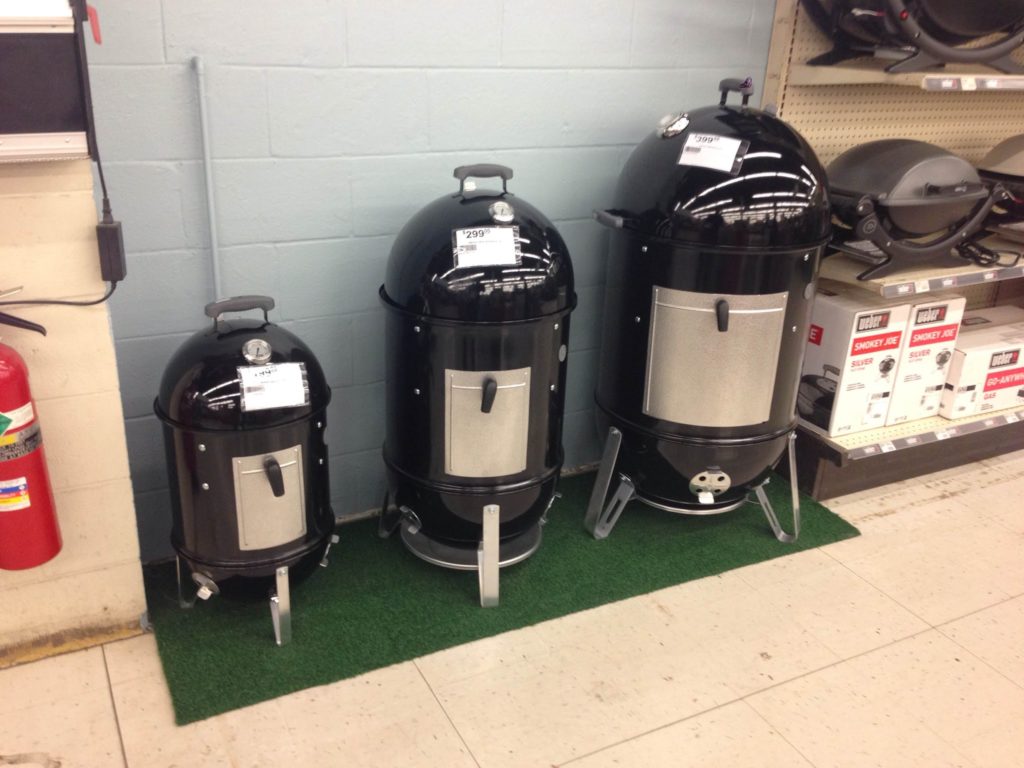
I’m a huge fan of Weber’s line of products and their customer service. I’ve owned many of their products including the Smokey Mountain Cooker. Although I’ve since moved on to a different primary smoker, I found the Smokey Mountain Cooker to be one of the best smokers for the money.
Here are the general dimensions and capacity of the three sizes of Smokey Mountain Cookers. These may change slightly with model year adjustments.
22″ Weber Smokey Mountain Cooker
Dimensions – Lid Closed (inches): 48.5″H x 23″W x 24″D
Total cooking area (square inches): 726
Diameter (inches): 22
18″ Weber Smokey Mountain Cooker
Dimensions – Lid Closed (inches): 41″H x 19″W x 21″D
Total cooking area (square inches): 481
Diameter (inches): 18
14″ Weber Smokey Mountain Cooker
Dimensions – Lid Closed (inches): 31.4″H x 14.7″W x 14.7″D


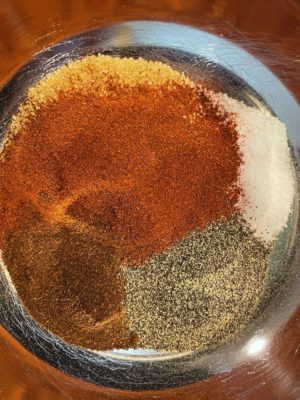 After adding most of the 1 and 2 tablespoon additions
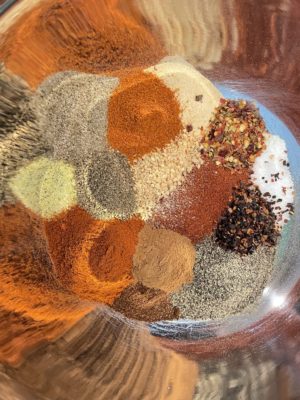 After adding most of the spices
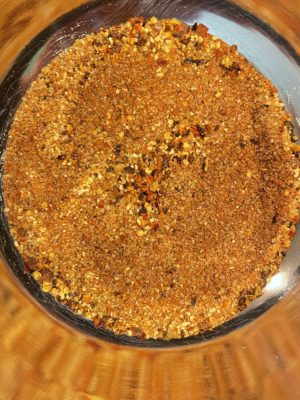 Everything combined
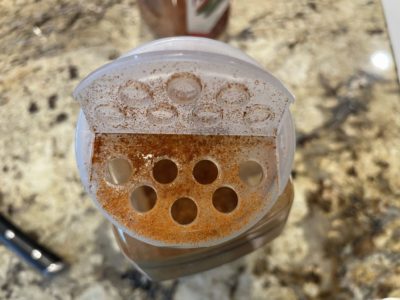 Like a lot of people I like to re-use spice containers for storing and shaking my rub. I really like the larger
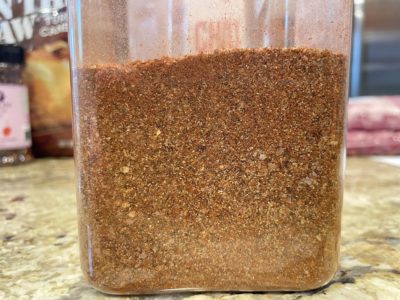


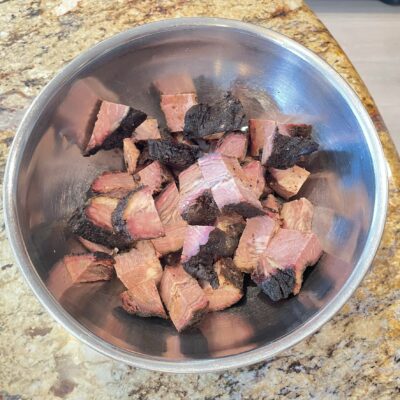 Cubed thicker/fattier portion of the brisket. These were cut after resting in the refrigerator overnight. That makes them very easy to cut and they stay together well.
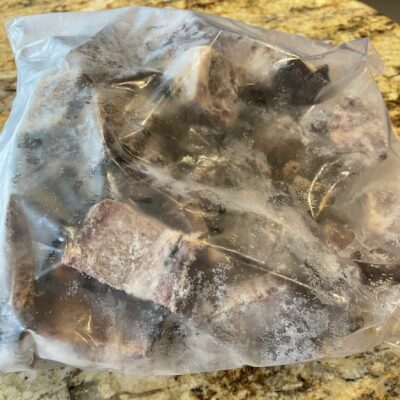

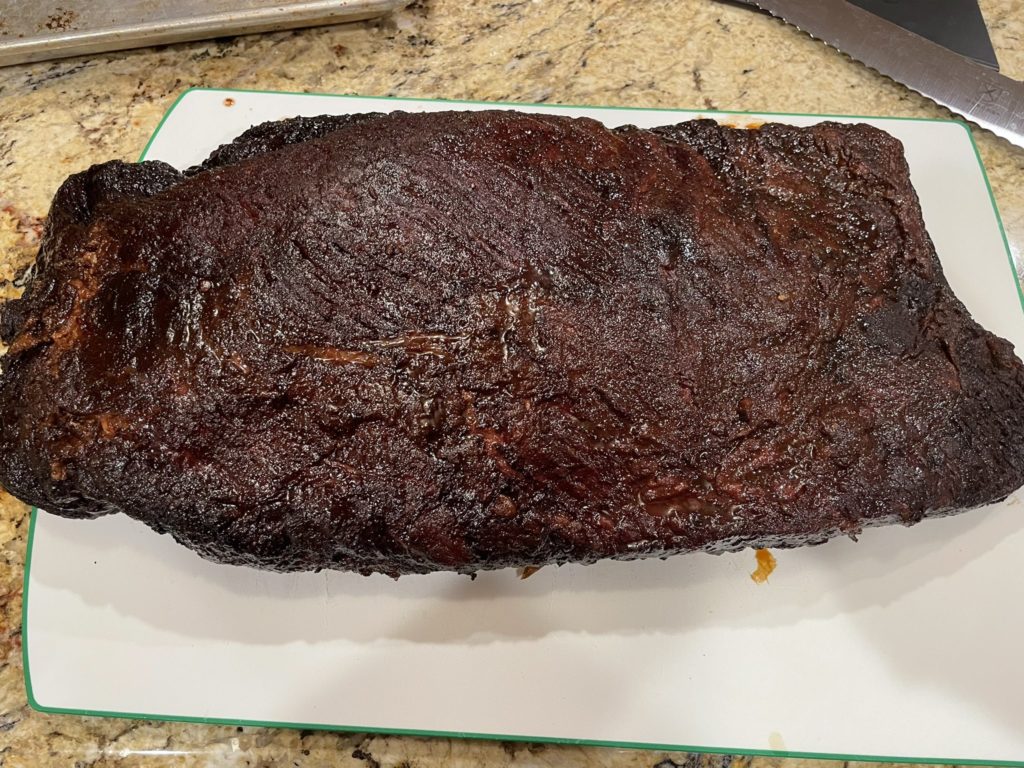 Brisket!
 Thank you to BBQ Finds Reader Jeff for this photo! –